Diverging Lat Pulldown (All Variations): The Complete Bodybuilder’s Guide to Width, Thickness & Full-Range Back Development
The diverging lat pulldown is one of the most underrated, misunderstood, and biomechanically superior back-building tools in the gym.
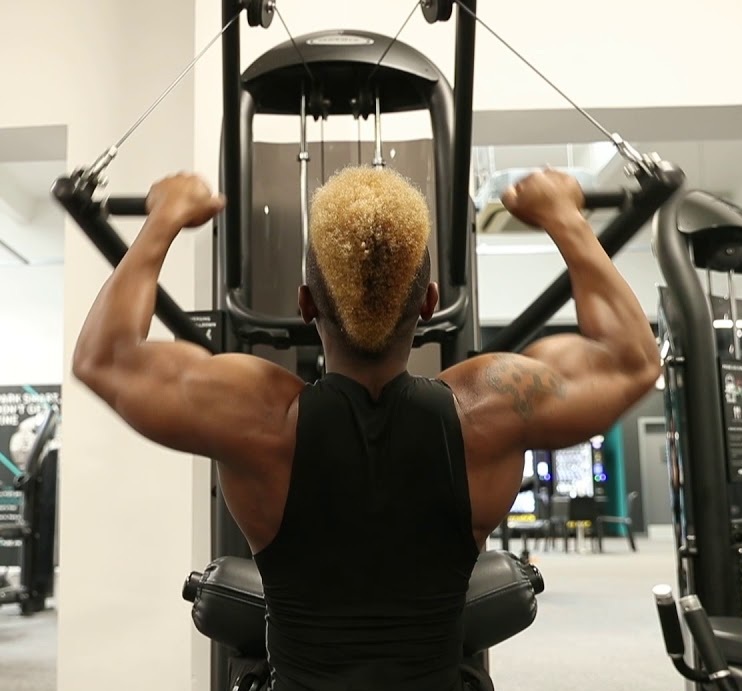
Whether you’re using a Hammer Strength unit, a Nautilus-style machine, a plate-loaded independent-arm pulldown, or a selectorized dual-cable style, the movement pattern is the same at its core: each arm travels through a natural arcing path that mimics how the lat fibers actually contract.
And that point is the entire magic behind the diverging pulldown:
Instead of forcing your shoulders and elbows to stay locked into a fixed bar path (like a straight-bar pulldown), the arms are free to move independently — opening the lats at the top of the range and allowing them to converge, compress, and shorten harder at the bottom.
That means more stretch, more squeeze, and more total back recruitment.
For bodybuilders chasing both lat width and upper-back density, this machine deserves a permanent place in your rotation.
This deep-dive explainer shows you exactly how to use the diverging pulldown to build a monster back — lats, teres, upper back, long head of the triceps, everything.
What Makes the Diverging Pulldown Unique?
Most pulldown variations — wide, close, pronated, neutral — work well, but they share one limitation:
The bar path is fixed. Your anatomy is not.
Every lifter has different shoulder structures, limb lengths, lat insertion points, and mobility patterns. When you’re locked onto a straight bar, you’re forced to fit your body to the machine, not the other way around.
The diverging pulldown flips that relationship.
Independent arms allow natural movement:
- Your elbows can travel slightly outward at the top
- They can tuck inward as you pull down
- Each lat works in its own full range
- Any left-to-right strength imbalances get exposed
- Your scapulae can upwardly rotate and depress more effectively
- You get a wider “flare” at the top and a deeper “squeeze” at the bottom
Biomechanically, this is exactly how the lat fibers are meant to shorten — inward and downward, not straight down.
The result?
A stronger stretch, cleaner contraction, and fuller recruitment of the entire back.
And unlike straight-bar pulldowns, the diverging pattern tends to spare the elbows and shoulders. It’s simply more joint-friendly.
Muscles Worked (More Than Just Lats)
While marketed as a “lat machine,” the diverging pulldown is a monster for complete back development.
Primary Movers
Lats (latissimus dorsi)
- The diverging path heavily loads the lower and mid-lat fibers
- Full stretch at top → compressed short position at bottom
- Great for both width and density
Teres Major
Often called “the little lat,” this muscle responds intensely to arcing pulldown paths.
Secondary Muscles
Rhomboids & Mid-Traps
Especially engaged at the bottom for scapular depression and retraction.
Rear Delts
Assisting on the downward pull and humeral extension.
Long Head of Triceps
Highly underrated — contributes to shoulder extension.
Biceps & Brachialis
Still involved, but less dominant than bar pulldowns due to more lat-dominant mechanics.
How to Perform the Diverging Pulldown with Bodybuilder-Level Precision
This section walks you through the complete setup and execution.
Step 1 — Set Your Seat Height
You want:
- Knees firmly locked under the pad
- Hips down, ribcage slightly braced
- Arms fully extended at the top WITHOUT shrugging
If your shoulders are elevating in the stretch, lower the seat.
Step 2 — Choose Your Grip
Most diverging machines offer:
- Neutral grip
- Semi-pronated
- Pronated
For bodybuilding purposes, neutral or semi-pronated gives the best lat activation.
Step 3 — Start in the Full Stretch
Lean slightly forward (5–10 degrees), allow:
- Scapula to upwardly rotate
- Lats to fully lengthen
- Chest to stay open
- Ribs down
You should feel the lats “open up” like a wing stretch.
Step 4 — Initiate the Pull with the Lats, Not the Arms
Think:
- “Drive elbows down.”
- “Pull with your armpits.”
- “Drag elbows into your back pocket.”
Your torso should NOT move backward dramatically — save that for momentum-based pulldowns.
Step 5 — Converge and Squeeze
At the bottom:
- Elbows should naturally tuck inward
- Hands travel toward your lower chest to upper ribcage
- Lats contract maximally
- Hold the squeeze for a solid 1-second peak
This is where the diverging pulldown beats every straight-bar variation.
Step 6 — Controlled Stretch on the Way Up
Do NOT let the weight pull your shoulders into your ears.
Think:
- “Reach long, but don’t lose tension.”
- “Let the lats lengthen, not the traps take over.”
The eccentric is everything for back growth — milk it.
Common Mistakes That Ruin the Diverging Pulldown
Even advanced lifters mess this one up. Here are the big issues to avoid:
❌ Mistake #1 — Leaning Back like a Row
That turns this into a low-row hybrid.
Keep torso angle consistent.
❌ Mistake #2 — Using Too Much Weight
The beauty of this machine is the clean contraction — not ego lifting.
❌ Mistake #3 — Shrugging the Shoulders
The lats are fired through scapular depression, not elevation.
❌ Mistake #4 — Shortening the Top-End Stretch
If you never go into the full overhead stretch, you kill lat hypertrophy potential.
❌ Mistake #5 — Letting the Biceps Take Over
Think elbows → not hands.
Programming the Diverging Pulldown for Mass, Strength & Symmetry
Here’s how to plug this movement into your program depending on your goal.
Hypertrophy (Primary Objective)
3–4 sets of 8–12 reps
Controlled eccentric
1-second pause at the bottom
Moderate load
This builds width + density simultaneously.
Strength-Endurance / Pump Work
2–3 sets of 12–15 reps
Slow stretch
No cheating
Perfect for metabolic stress
Progressive Overload
Since each arm moves independently, you can add overload in multiple ways:
- Add plates/weight stack increments
- Increase reps
- Slow down the eccentric
- Add pauses
- Use unilateral work to balance sides
Variations of the Diverging Lat Pulldown (All Major Styles Explained)
Since your article covers ALL versions, here are the key machines and what they offer.
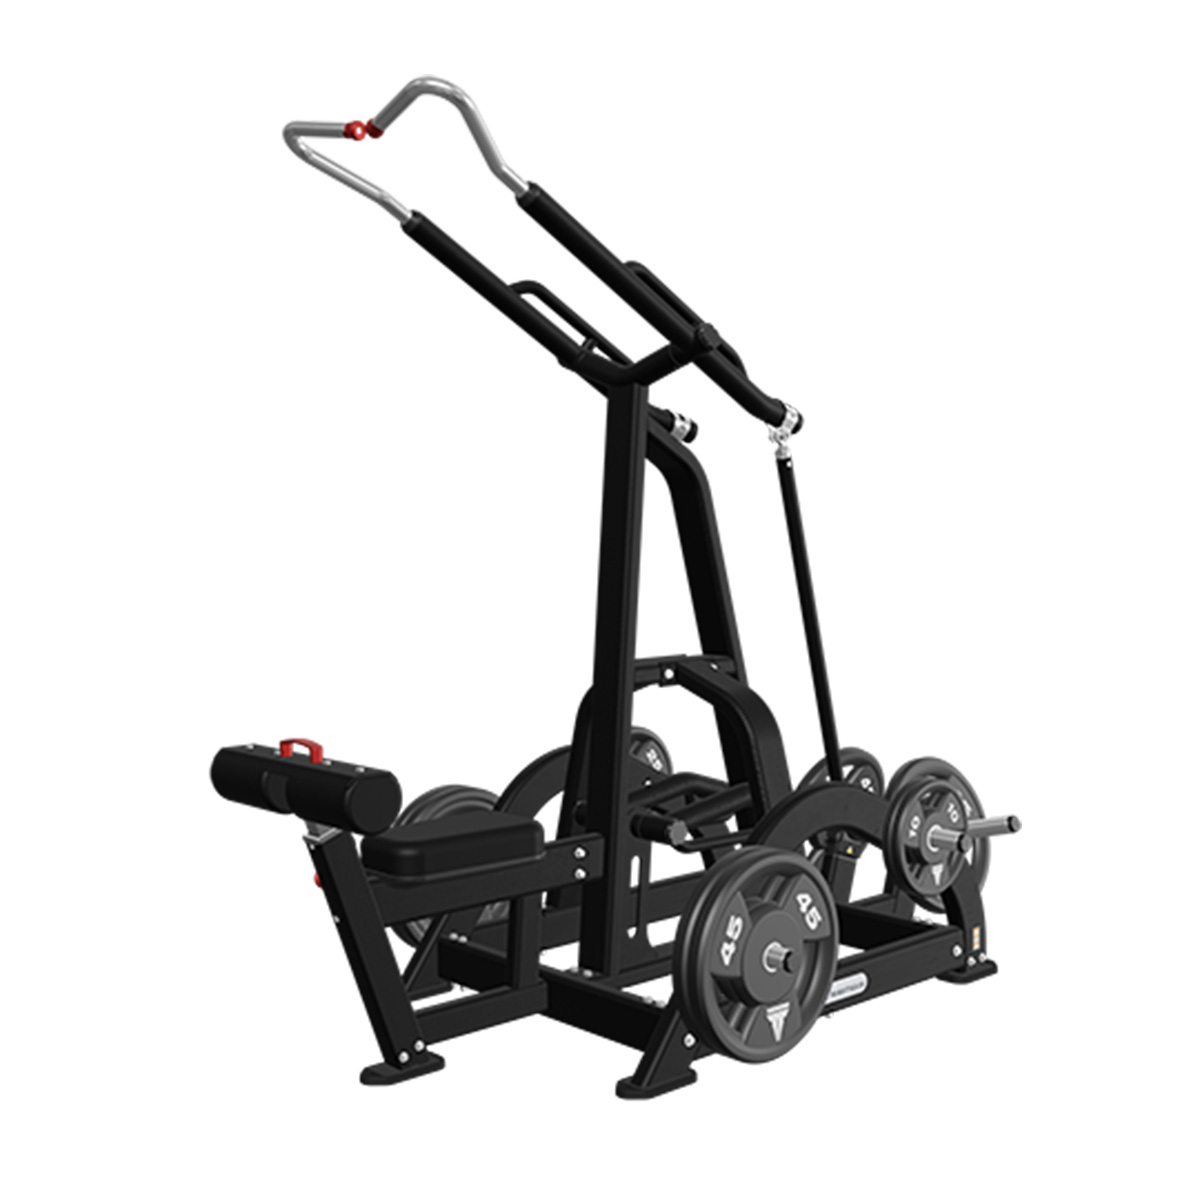
- Hammer Strength Diverging Pulldown
The most common version.
- Plate-loaded
- Allows heavy weight
- Great convergence at the bottom
- Ideal for bodybuilders
Best for mass and strength.
- Nautilus/Hammer-Arc Pulldown
Arms sweep in a curved arc.
- More natural shoulder path
- Huge stretch
- Very lat-dominant
Best for lat lengthening and stretch-mediated hypertrophy.
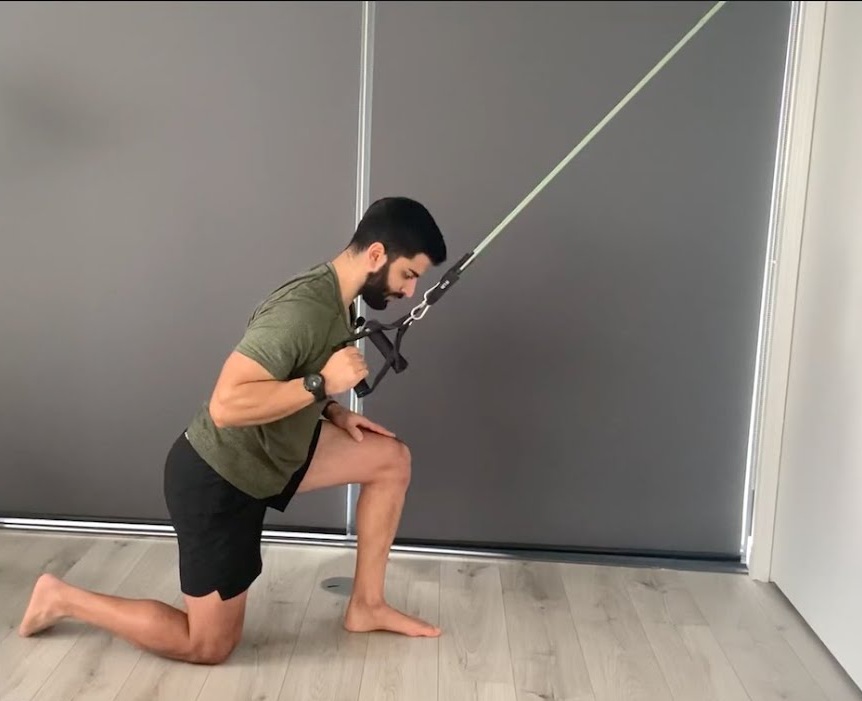
- Dual-Cable Independent Pulldown
Each handle attaches to a vertical cable column.
- Lightest and most adjustable
- Best mind–muscle connection
- Great for finishing sets
Best for isolation and MMC-focused lifters.
- Selectorized Diverging Machine
Variable resistance curve.
- Very smooth
- Easy to load/unload
- Ideal for moderate reps
Best for general hypertrophy training.
Advanced Bodybuilding Tips to Maximize the Diverging Pulldown
Tip 1 — Slight Torso Angle Shift for More Lower Lat
Lean forward 5 degrees more and pull hands toward lower ribs.
Tip 2 — Add a 2-Second Stretch Pause
Perfect for lifters with stubborn lats or poor flexibility.
Tip 3 — Use One Arm at a Time
Unilateral version helps:
- Fix asymmetries
- Improve mind–muscle connection
- Increase range of motion
Tip 4 — Use Soft Handles if Machine Allows
This unlocks:
- Wrist neutrality
- Extra ROM
- Less shoulder strain
Tip 5 — Pull Down AND Inward
This increases lat engagement dramatically.
Where the Diverging Pulldown Fits in Your Back Workout
For bodybuilders, the diverging pulldown sits perfectly between heavy rows and isolation work.
Example Back Workout Placement
- Deadlift or heavy row
- Diverging lat pulldown
- One-arm row
- Machine row
- Rear delts / upper back finisher
It also works phenomenally as a first movement for lifters who struggle feeling their lats on rows.
Practical Takeaways
- The diverging pulldown is one of the most anatomically natural back movements you can perform
- It builds WIDTH and THICKNESS simultaneously
- Independent arms unlock better range of motion and recruitment
- It spares the joints while loading the lats heavily
- Works across all machine styles — Hammer, Nautilus, cable, selectorized
- Ideal for moderate rep ranges (8–12, 10–15, 12–20)
- Equally valuable for beginners and advanced lifters

