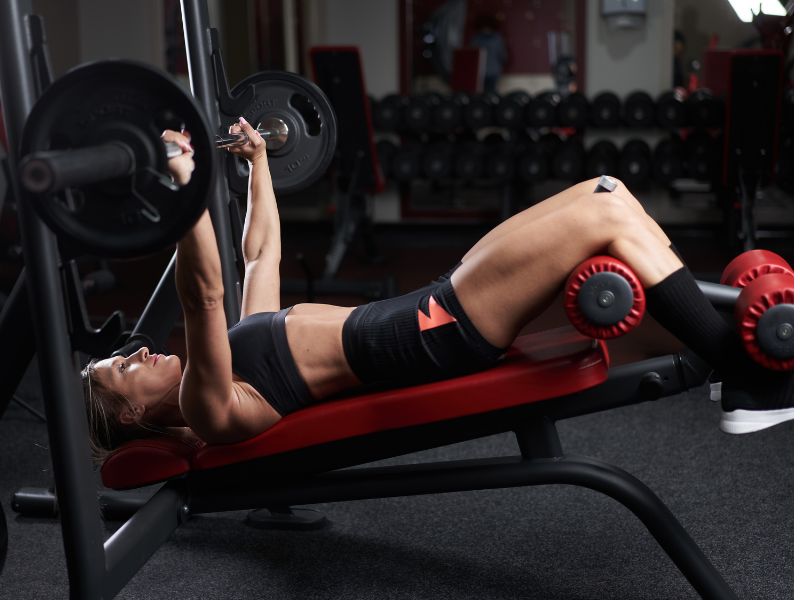
Seated Machine Chest Press — Stable Power, Safe Overload, Maximum Chest Tension
The Seated Machine Chest Press is one of the most underrated mass builders in the bodybuilding world. Free weights get all the glory, but machines offer something barbells and dumbbells simply cannot match:
- perfect line of tension
- stability for maximum force output
- safe failure without risk
- consistent resistance throughout the range of motion
When your goal is chest size, not performance numbers, the machine chest press becomes one of the most valuable tools in your training arsenal. It allows you to load the pecs heavily without worrying about balance, joint strain, or failing under a bar.
Think of it as the “hypertrophy version” of the bench press — a movement built for intensity, isolation, and progressive overload.
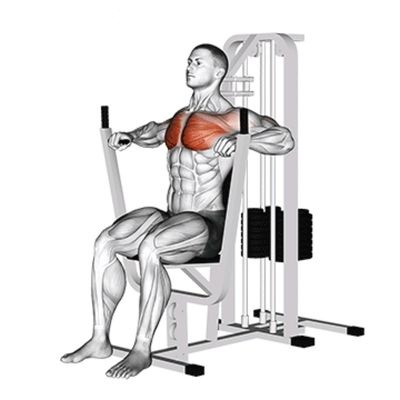
Muscles Worked
Primary
- Pectoralis Major
- Clavicular head (upper chest depending on seat height)
- Sternal head (mid chest)
- Costal head (lower chest if elbows are low)
Secondary
- Triceps
- Anterior Deltoids
- Serratus Anterior (stabilization)
Why Bodybuilders Use the Machine Chest Press
✔ 1. Stability = More Chest Activation
Free weights demand stabilization. Machines reduce stabilization to almost zero, allowing:
- heavier loading
- slower eccentrics
- harder peak contractions
- safer near-failure training
When the goal is pure hypertrophy, that’s a massive advantage.
✔ 2. Perfect Alignment for Your Body
Most machines have adjustability for:
- seat height
- handle starting position
- grip width
This allows you to put your chest — not your shoulders — in the ideal pressing position.
✔ 3. Consistent Resistance Curve
Free-weight presses get easier near the top. Machines provide:
- more even tension
- better end-range loading
- predictable force throughout
This helps develop the inner chest and the “fullness” top bodybuilders aim for.
✔ 4. Safe Failure Training
You can push to absolute muscular failure without:
- a spotter
- dropping a weight
- risking shoulder strain
- compromising form
This is why bodybuilders lean on the machine chest press later in a chest workout when fatigue is high.
How to Set Up the Machine Chest Press Correctly
- Set the Seat Height
This determines your fiber emphasis.
- Seat low → elbows high → upper chest
- Seat mid → elbows in line with pecs → mid chest
- Seat high → elbows lower → lower chest
Your shoulders should stay slightly below or level with the handles.
- Adjust the Handle Starting Position
Your elbows should be in a 30–45° angle from the ribcage — not flared to 90°.
This keeps tension in the pecs rather than dumping it into the front delts.
- Grip Setup
Choose between:
- neutral grip (elbow-friendly, more lower/mid chest)
- pronated grip (more chest isolation, classic bodybuilding feel)
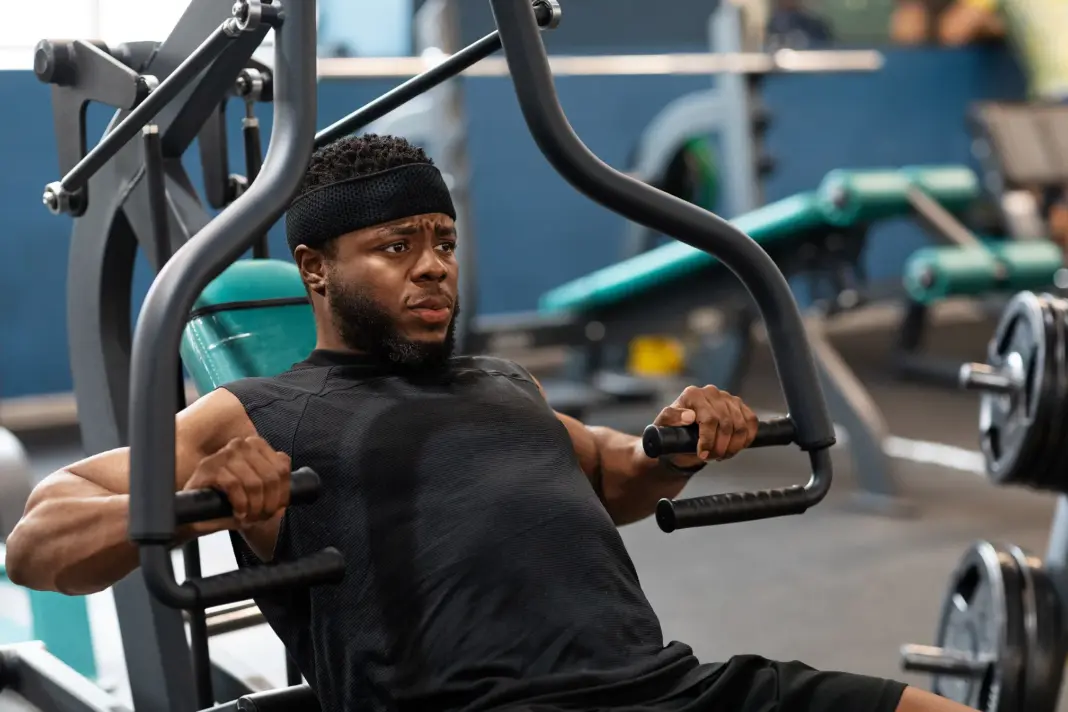
- Lock Your Body Position
- Chest high
- Scapula retracted
- Feet planted
- Lower back lightly arched
- Ribcage elevated
This posture maximizes pec fiber stretch and contraction.
How to Execute the Perfect Machine Chest Press
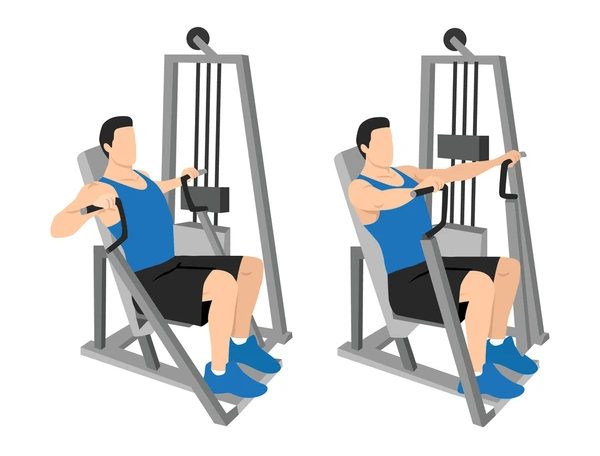
- The Descent (Eccentric)
- Control the weight
- Let elbows travel naturally backward
- Keep shoulders down and back
- Aim for a deep pec stretch
Tempo recommendation: 2–3 seconds down.
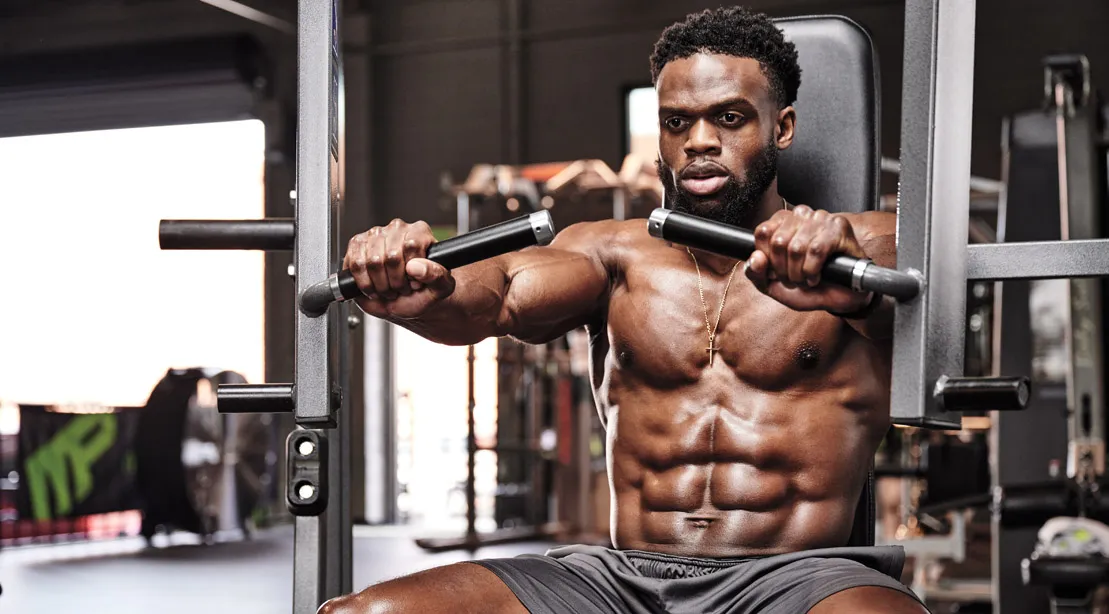
- The Press (Concentric)
Drive the handles forward while:
- keeping the chest tall
- keeping shoulders pinned
- pressing “through” the pecs
Do NOT lock out violently — feel the pecs squeeze into the centerline.
- Peak Contraction
At the end of the rep:
- squeeze the pecs hard for 1 second
- avoid letting the weight stack touch
- maintain constant tension
- Repeat With Controlled Rhythm
The machine chest press is NOT an ego lift. Smooth tension trumps heavy jerky reps.
Variations and Adjustments
- Neutral Grip Press (Shoulder-Friendly)
Perfect for lifters with shoulder discomfort or long arms.
Targets:
- mid chest
- lower chest
- triceps
- Pronated Grip Press (Classic Bodybuilding Feel)
Allows a strong internal rotation effect, giving:
- better inner chest activation
- stronger pec contraction at lockout
- High-Seat Press (Lower Chest Bias)
Elbows travel down and inward.
Similar to a decline press.
- Low-Seat Press (Upper Chest Bias)
Elbows travel slightly upward.
Mimics an incline press.
- Single-Arm Machine Press
Fixes imbalances while increasing MMC and stretch.
- Paused Reps
Pause at the stretch for 1–2 seconds:
- removes momentum
- increases time under tension
- improves chest isolation
- Drop Sets
Machine chest press is perfect for drop sets because weight changes are instant.
Example:
- 8 reps heavy
- drop 20–30%
- 8 reps
- drop 20%
- 8 reps
Brutal. Effective. Safe.
Programming the Machine Chest Press
For Mass (Hypertrophy)
- 3–5 sets
- 8–12 reps
- 2–3 min rest
Focus on progressive overload week to week.
For Stretch-Mediated Hypertrophy
- 2–4 sets
- 10–15 reps
- deep slow stretch
- 3–4 second negative
This builds density and thickness.
For End-of-Workout Pump
- 2–3 sets
- 12–20 reps
- short rest: 45–60 sec
- keep constant tension
Combine with cables afterward for insane pumps.
Sample Machine Chest Press Workouts
Mass-Building Chest Day
- Barbell Bench Press — 4×6–8
- Incline Dumbbell Press — 4×8–12
- Machine Chest Press — 4×10–12
- Cable Fly — 3×12–15
Upper-Chest Biased Day
- Incline Barbell — 4×6–10
- Incline Dumbbell — 3×8–10
- Low-Seat Machine Press — 3×10–12
- Low-to-High Cable Fly — 3×12–15
Pump / Finisher
3 rounds:
- 15 reps Machine Press
- 12 reps Cable Crossover
- 20 push-ups
Rest 60 sec
Unreal pump.
Common Mistakes
❌ Flaring the elbows too high
This shifts tension to shoulders.
❌ Locking shoulders forward
The chest loses tension immediately.
❌ Using too much weight
If the machine platform lifts off the ground, it’s too much.
❌ Letting the weight stack touch
Removes tension and reduces hypertrophy.
❌ Half reps
Use a full stretch and full forward contraction.
Who Should Use the Machine Chest Press?
✔ Beginners
Allows safe learning of pressing mechanics.
✔ Intermediates
Great for pushing higher volume without joint strain.
✔ Advanced Bodybuilders
Perfect for volume, failure work, and shaping phases.
✔ Lifters With Injuries
Fantastic alternative to free-weight presses.
Bodybuilder’s Takeaway
The Seated Machine Chest Press is a reliable, high-yield hypertrophy tool that supplements your free-weight pressing and rounds out chest development.
Its strengths:
- Safe to push hard
- Easy to isolate pecs
- Good for high-volume days
- Highly adjustable
- Fantastic chest stretch and contraction
- Perfect for failure training
If you want a bigger chest, the machine chest press deserves a permanent spot in your rotation.

